
Last Updated: October 25, 2026
Quick Summary
A fix and flip renovation budget should capture five cost categories plus a separate contingency reserve: acquisition and soft costs, hard construction costs, permits and compliance, carrying costs, and selling costs. Size the contingency by scope risk, not a flat percentage, and release it only for documented surprises.
- Build the scope line by line from a walkthrough, then collect trade-by-trade bids on that identical scope.
- Update the budget spreadsheet weekly and flag any trade running more than 10% over its bid.
- Calculate your maximum allowable offer as 70% of ARV minus estimated repairs, adjusted for your market.
- Save on finishes and splurge on systems like roof, HVAC, electrical, and plumbing that inspectors flag.
- Lock a written rehab quote before closing and build schedule float for trades most likely to slip.
Table of Contents
- Why Your Fix and Flip Renovation Budget Decides the Deal
- How to Estimate Rehab Costs Before You Close
- Build a Fix and Flip Budget Spreadsheet That Tracks Cash Flow
- Set a House Flipping Contingency Budget You Do Not Touch
- Cost-Effective Renovations for Resale That Buyers Pay For
- Where to Save and Where to Splurge on a Flip
- Permits, Inspections, and the Hidden Costs They Create
- Scheduling the Project to Control Carrying Costs
- Get a Rehab Quote That Holds Before You Buy the Property
- Frequently Asked Questions
Why Your Fix and Flip Renovation Budget Decides the Deal
A fix and flip renovation budget is the line-by-line estimate of every dollar you will spend turning a distressed property into a sellable home, and it is the single number that decides whether the deal makes money or quietly bleeds you dry. We have watched investors buy a property on a solid purchase price and lose the profit entirely in the rehab. The purchase price gets all the attention at the closing table. The rehab budget is where deals actually die.
Here is the uncomfortable truth most guides skip: your maximum allowable offer depends on the rehab number, not the other way around. If you estimate the work last, you are not underwriting a deal, you are guessing at one. Below, we break down how to estimate rehab costs, build a budget spreadsheet that tracks cash flow, and set a contingency you never touch.
How to Estimate Rehab Costs Before You Close
Estimating rehab costs before closing means pricing the actual scope of work, trade by trade, from a walkthrough and real bids, not from a per-square-foot rule of thumb. The estimate is only as good as the scope behind it, so the walkthrough comes first.
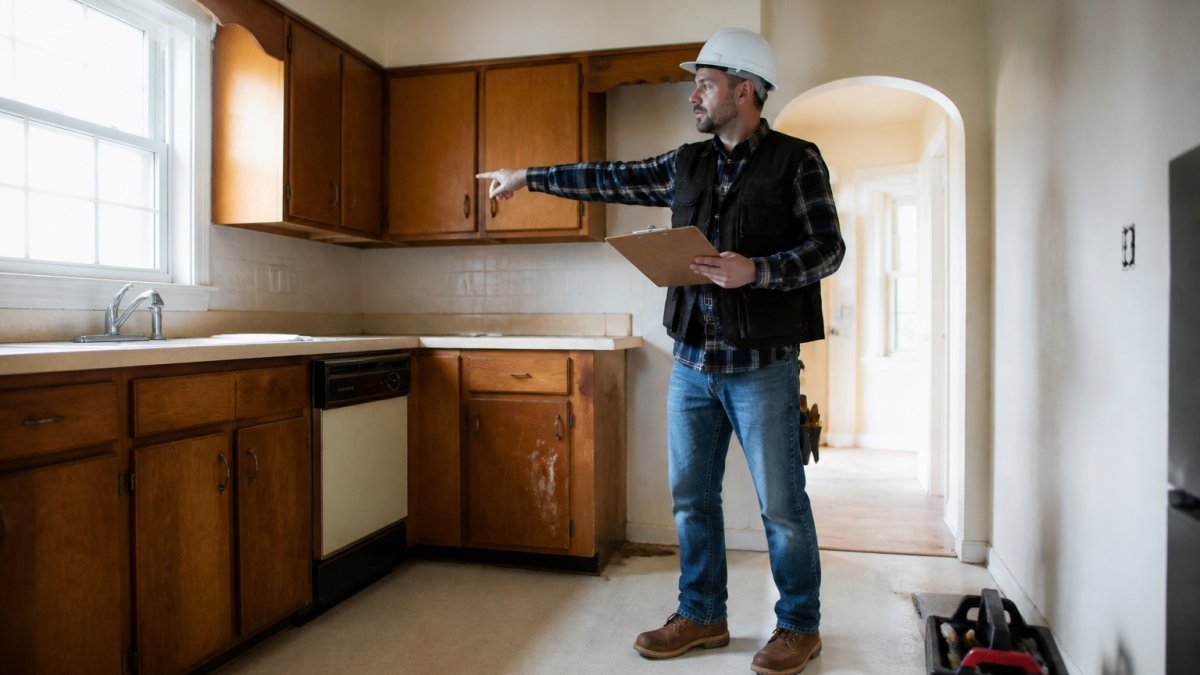
Walk the Property and Build a Scope Line by Line
Walk every room and write down what is broken, dated, or missing before you write down a single price. Note the roof age, the electrical panel, the plumbing material, the HVAC condition, and any water staining. A common mistake is scoping only the cosmetic work and discovering the systems problems after you own the property. Build the scope as a list of line items, not a lump sum.
Get Trade-by-Trade Bids Instead of One Blended Number
A single blended bid hides where the money goes. Ask for separate numbers from the electrician, plumber, HVAC contractor, roofer, and finish trades so you can see which line is driving cost. When you compare quotes, make sure each bidder is pricing the same scope, or the cheapest number will be the one that quietly excluded the panel upgrade.
Build a Fix and Flip Budget Spreadsheet That Tracks Cash Flow
A fix and flip budget spreadsheet is a working document that lists every line item, its bid amount, the amount actually spent, and the running cash position, updated weekly. The spreadsheet is not a formality. It is how you catch a cost overrun before it eats the profit, and how you prove to a lender or a partner that the deal is underwritten, not improvised.
Most flippers lose money not because a single line item exploded, but because the budget never captured the full set of line items in the first place. A construction-only budget misses carrying costs, selling costs, and the soft costs that accumulate between purchase and sale. Build the spreadsheet around five categories, not one.
The Five Budget Categories Every Flip Needs
- Acquisition and soft costs, purchase price, closing costs, title, attorney fees, and any immediate lien payoffs.
- Hard construction costs, the trade-by-trade line items from your scope: demolition, framing, roofing, siding, windows, electrical, plumbing, HVAC, drywall, flooring, cabinets, countertops, paint, and final cleaning.
- Permits and compliance, permit fees, plan review, inspection re-inspection fees, and any required engineering or survey work.
- Carrying costs, loan interest, points, property taxes, insurance (including builder’s risk), utilities, lawn and snow maintenance, and HOA dues if applicable.
- Selling costs, real estate commission, staging, photography, marketing, transfer taxes, and seller concessions.
Add a sixth row for contingency, but keep it separate from the five categories so you can see exactly how much of the reserve you have consumed.
Column Structure That Actually Tracks Cash
Use these columns for every line item: Category | Line Item | Estimated Cost | Committed Cost | Paid to Date | Variance | Notes. The variance column is the one most investors skip and the one that matters most, it is the difference between estimated and committed, and it is your early-warning system. Update the committed column the day you sign a subcontract, not the day you pay it. A signed contract is a committed dollar whether or not cash has left the account.
Add a Bid vs. Actual pivot or summary tab that subtotals by trade. When a single trade runs more than 10% over its bid, you want to see it before the next draw, not after the project closes.
Connect the Spreadsheet to Deal Profitability
The spreadsheet is only useful if it rolls up to the numbers that decide whether you should buy the property. At the bottom of the budget, add a deal-summary block:
- After-repair value (ARV), the conservative resale value based on comparable sales, not the optimistic number.
- Total project cost, purchase price plus all five categories plus contingency.
- Maximum allowable offer (MAO), a common investor formula is 70% of ARV minus estimated repairs, adjusted for your market and carrying costs.
- Projected gross profit, ARV minus total project cost.
- Return on investment (ROI), projected gross profit divided by total cash invested, including acquisition and carrying costs.
If the projected gross profit does not clear your minimum threshold after contingency and selling costs, the deal does not work, no matter how good the purchase price looks. The spreadsheet is where that decision gets made, before you close.
Track Weekly, Not Monthly
A monthly update is too slow for a flip. Update the spreadsheet weekly, compare committed costs against the bid, and flag any line where the variance is trending negative. The goal is not a perfect budget, it is catching the drift while you still have room to correct scope, resequence trades, or renegotiate a subcontract before the overrun compounds.
Every flip budget needs to capture five cost categories plus a separate contingency reserve.
| Budget category | What it covers |
|---|---|
| Acquisition and soft costs | Purchase price, closing costs, title, attorney fees, lien payoffs |
| Hard construction costs | Trade-by-trade scope items from demolition through final cleaning |
| Permits and compliance | Permit fees, plan review, re-inspection fees, engineering or survey work |
| Carrying costs | Loan interest, points, taxes, insurance, utilities, maintenance, HOA dues |
| Selling costs | Commission, staging, photography, marketing, transfer taxes, seller concessions |
| Contingency | Reserve held separate from the five categories |
Set a House Flipping Contingency Budget You Do Not Touch
A house flipping contingency budget is a reserve set aside for unknowns, held separate from every other line and released only for genuine surprises. The number is not a slush fund for upgrades you decide you want mid-project, and it is not a buffer you can spend down to make a marginal deal pencil. It is insurance against the things you cannot see at the walkthrough.
Size the Reserve by Scope Risk, Not a Flat Percentage
A flat percentage is a starting point, not a plan. Most practitioners size contingency by how much unknown scope the property carries:
- Cosmetic-only flip with recent systems, a smaller reserve, because the risk is mostly finishes and schedule.
- Older home with original systems, a larger reserve, because roofing, electrical, plumbing, and HVAC surprises are likely and expensive.
- Property with structural red flags, water intrusion, or deferred maintenance, the largest reserve, and often a signal to re-scope or walk away before you buy.
Size the reserve against the hard construction total, then add a separate time contingency to the schedule. Cost contingency and schedule contingency are two different reserves, and a flip can blow the schedule without blowing the cost line, until carrying costs catch up.
Define What Triggers a Release
A contingency you cannot govern is a contingency you will spend. Write down the release rules before the project starts:
- Released only for concealed conditions discovered after closing (hidden water damage, failed sewer line, undisclosed structural issues), code corrections required by an inspector that were not in the original scope, or documented scope changes approved in writing.
- Not released for cosmetic upgrades, design changes, or covering a bid that was simply too low.
Every release should be logged with a date, a reason, the amount, and the remaining balance. When the reserve is gone, it is gone, and the next surprise comes straight out of profit.
If you spend contingency on a nicer countertop, you have no reserve left when the inspection turns up something structural. Treat it as untouchable until the punch list is done.
Tie Contingency to Permits, Inspections, and Change Orders
The biggest contingency draws are rarely the trades you planned, they are the corrections an inspector requires and the change orders that follow. Build a permit and inspection line into the budget, and route every scope change through a written change order that states the cost, the schedule impact, and which budget line absorbs it. A change order that pulls from contingency without a documented reason is how reserves disappear quietly.
The Rule That Matters
Contingency is released only for genuine surprises, documented in writing, and tracked against a remaining balance. If the reserve survives to the punch list, that is profit you protected, not money you failed to spend.
Cost-Effective Renovations for Resale That Buyers Pay For
Cost-effective renovations for resale are the improvements that return more at the sale than they cost to complete, and they are almost always the boring ones: a clean kitchen, working systems, fresh paint, and a functional layout. Buyers pay for a home that feels move-in ready, not one with a statement feature they did not ask for.
Flippers that sell fastest put money into the items buyers inspect first and skip the personalized touches. To see real completed flips and judge which renovation choices actually appeal to buyers, browse our portfolio. If you want to see which renovation choices actually appeal to buyers, review our renovation services before you finalize your scope.
Where to Save and Where to Splurge on a Flip
Save on finishes, splurge on systems. That is the short version. Buyers notice a sagging roof and a cold furnace; they rarely notice the difference between a mid-grade and premium cabinet pull.
- Save: light fixtures, hardware, landscaping beyond cleanup, appliance brands above mid-grade.
- Splurge: roof, HVAC, electrical, plumbing, and anything a home inspector will flag.
- Save: cosmetic staging-level touches that photograph well but add no function.
- Splurge: kitchen and bathroom function, because those two rooms carry the most weight with buyers.
The trap is spending the splurge budget on cosmetics because they are visible. Systems failures kill sales and financing; a slightly dated light fixture does not.
Permits, Inspections, and the Hidden Costs They Create
Permits and inspections add real cost and real time, and the biggest hidden cost is the work an inspector requires that was not in your original scope. Pull permits for structural, electrical, plumbing, and mechanical work, and budget for the inspection contingencies those permits trigger.
Two costs catch investors off guard. First, permit fees and the inspection cycle add calendar time, which adds carrying cost. Second, a failed inspection can force rework that was never in the budget. Build a permit and inspection line into the spreadsheet and a time buffer into the schedule, because code compliance is not optional and the corrections come out of your profit if you did not plan for them.
Scheduling the Project to Control Carrying Costs
Every week a flip sits unfinished costs you money in taxes, insurance, utilities, and financing, so the schedule is a budget line as much as a calendar. Sequence the trades so no crew waits on another, and front-load the long-lead items like windows and cabinetry.
Project delays compound. A late cabinet delivery pushes the countertop, which pushes the plumber, which pushes the final inspection. Build float into the schedule for the trades most likely to slip, and track the schedule weekly alongside the budget. A flip that finishes two weeks early is a flip that saved two weeks of carrying cost.
Get a Rehab Quote That Holds Before You Buy the Property
A rehab quote that holds is the difference between underwriting a deal and hoping one works out. Before you buy, get a written scope and trade-by-trade pricing from a contractor who has walked the property, not a phone estimate.
Here is the practical sequence we recommend to investors:
- Walk the property and photograph every defect.
- Build the scope line by line, room by room.
- Collect trade-by-trade bids on that identical scope.
- Add holding, selling, and contingency lines to the spreadsheet.
- Confirm the permits and inspections the scope will trigger.
- Lock the quote in writing before the purchase closes.
If you are ready to price the work before you commit to the property, review our renovation services and contact our team to schedule a walkthrough.
Frequently Asked Questions
How do I estimate renovation costs before buying a flip?
Walk the property with a contractor and build a line-item scope before you make an offer. Price each trade separately (demo, framing, electrical, plumbing, HVAC, drywall, flooring, kitchen, baths, exterior) rather than accepting one blended number. Add permits, dumpsters, and a contingency of 10 to 20 percent on top. That total, not the listing agent’s guess, is the number your fix and flip renovation budget should be built around.
How much should I set aside for unexpected renovation costs?
Plan a house flipping contingency budget of 10 percent for a cosmetic flip and 15 to 20 percent for a property with structural, plumbing, or electrical unknowns. Older homes justify the higher end. Treat that money as untouchable: if you spend it on upgrades, you have no buffer when a sewer line or load-bearing wall shows up mid-project. Contingency you do not use is profit, not spare cash.
Which renovations add the most value when flipping a house?
Kitchen and bathroom updates consistently return the most at resale, followed by fresh paint, flooring, and lighting throughout. Cost-effective renovations for resale focus on what buyers see and touch first: countertops, cabinet fronts, fixtures, and clean neutral finishes. Skip luxury items like high-end appliances or custom millwork unless the comps in the neighborhood support the price. Match the finish level to the street, not to your taste.
How can I keep a fix and flip renovation on budget?
Three controls do most of the work. First, lock the scope before demo starts and require written change orders for anything added. Second, track every invoice against a fix and flip budget spreadsheet weekly so overruns surface early. Third, schedule trades back to back so the property is not sitting empty while you pay carrying costs. A flip that runs two months long can erase the profit even when the construction budget holds.
How long does a typical flip renovation take, and what does a delay cost?
A cosmetic flip usually runs four to eight weeks; a full rehabilitation with permits can run three to five months. Every extra month carries mortgage interest, taxes, insurance, and utilities on a property producing no income. Build the schedule before you buy and add two weeks of float. If permits or inspections are required, confirm review timelines with the local building department early, since those queues often set the real critical path.
The deal is won or lost on the rehab number, and a budget built from a real walkthrough and real bids is the only one worth underwriting. Level up construction handles full property rehabilitations and fix and flip projects with a straightforward process, quality craftsmanship, and modern finishes, so the scope you price is the scope that gets built. Get started with level up construction and price your next flip with a budget that holds.
